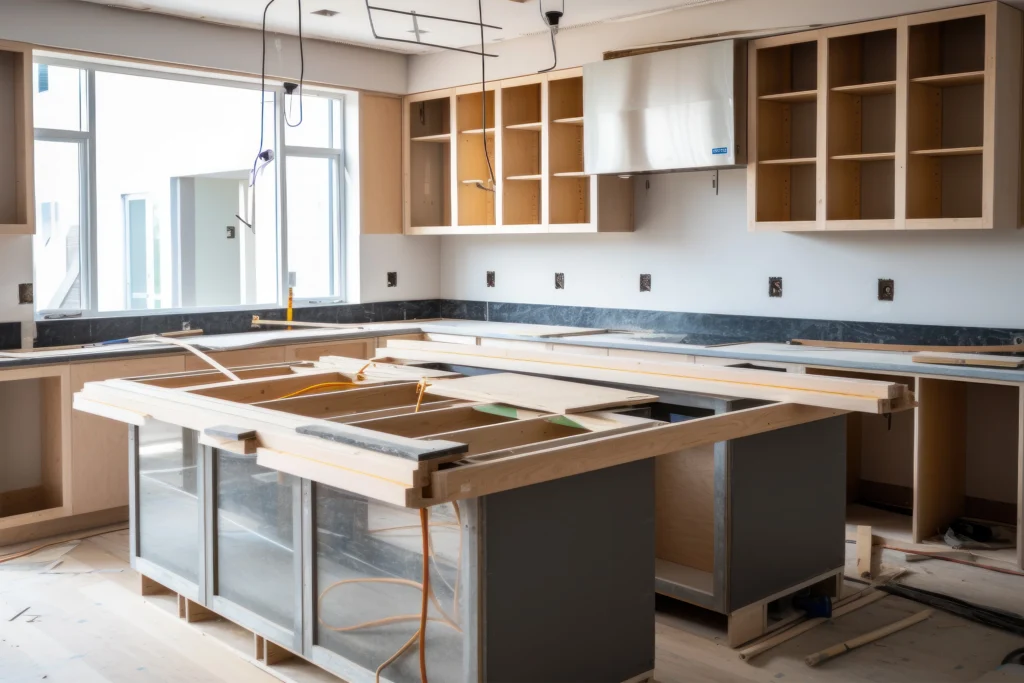
Kitchens are next to, if not the most important parts of our homes since it is where family meals are made and sometimes taken. It is therefore important to make them comfortable and accommodating to the best of our abilities. Among the many ways of updating old-style kitchens is by extending the cabinets to the ceiling to make them taller and more modern. This is when installing new kitchen cabinetry seems daunting and impossible with a small budget. Since this is a simple task, you can DIY and save the money for hiring a professional. This article gives guidelines on how to go about this process.
Detach the Molding above the Cabinetry
With the use of a power drill, Begin the process by detaching the molding covering the top of all of your cabinets. A power drill is best recommended since it allows maximum care because you will need the same molding when finishing up.

Custom Kitchen Cabinets to the Ceiling
Take Measurements
By use of a tape measure, take and note down all the measurements for the space between the ceiling and the cabinets. The measurements will determine the size and shape of your mounting blocks and plywood boards. For a continuous space without corners, take the length and depth. If it has corners, take individual measurements for each section. Do not mind leaving a few inches of the space since this will be covered by the trim at the end of the process.
Cut Wood Blocks and Plywood
Using a power saw, cut mounting blocks and plywood boards that match the space measured between the ceiling and cabinets. It is advisable to have your gloves and eye goggles on for safety.
Mount the Blocks and Plywood
Using wood glue, attach the mounting blocks to the top of the cabinets and leave the glue to dry for an hour. Once dry, use a power drill to attach the plywood boards to the mounting blocks on the ceiling and top of the cabinets. As you do that, it is good to exercise caution to avoid drilling into your cabinetry.
Finishing Works
Having done that, take a thorough inspection to identify any misses and mishaps. Upon noticing things such as slanted plywood or blocks, correct them. Then sand all the sharp edges and clean the boards and cabinets in preparation for a fresh paint coat.
Paint Works
Using a paintbrush, apply a coat of primer on the newly patched-up space and let it sit for 1 hour. Then give the space and cabinets your first coat of paint that matches your style in the kitchen. Let the first coat sit for 3 hours before applying the second one. After another three hours, use a power drill to mount the trim back into place.
Things to do When You Want Extra Storage Space
The process of creating extra storage space while extending the cabinets is much or less the same as that of covering up the space. The only slight difference comes in when building the boxes. A little more craftiness will be required to make the boxes and doors. Begin by measuring and marking the plywood panels then cut them into desired sizes. Use wood glue and smaller screws to join the boards into boxes. We understand the process of making the cabinet boxes might be quite complicated for most people. In that case, you can avoid this hustle by buying them from a local carpentry. You just need to have the measurements and the technicians will make the boxes within no time.
During the installation of the boxes, you might need an extra pair of hands to hold them in place while you attach them to the existing wall joists. If the boxes do not slide easily into the space, give them a little tap using a wooden mallet. Once in place, attach the door, followed by molding, and cleaning, then finish up with paint works to give the cabinets a new fresh look.
During the installation of the boxes, you might need an extra pair of hands to hold them in place while you attach them to the existing wall joists. If the boxes do not slide easily into the space, give them a little tap using a wooden mallet. Once in place, attach the door, followed by molding, and cleaning, then finish up with paint works to give the cabinets a new fresh look.
